

How to build and paint a carousel horse for photos
This is a two-part post: the first section details how to build a carousel horse for kids photos from a child’s bouncy horse, and the second section details building a full size carousel horse suitable for older kids and adults.
Part 1: Smaller horse
How to build a Carousel Horse for photo sessions! So this horse started out as a bouncy horse, but I didn’t know it at the time.
I went looking for carousel horses on Craigslist and found what I thought was a great carousel horse, but after driving two hours to get there, we loaded her up and found out that she was plastic.. and had come from a smoker’s home. This was the beginning of my adventure of research and repainting.
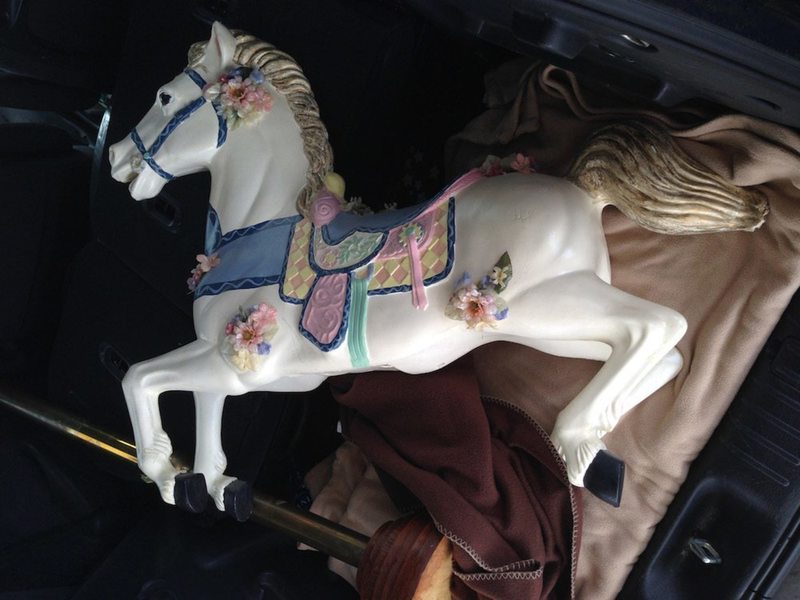
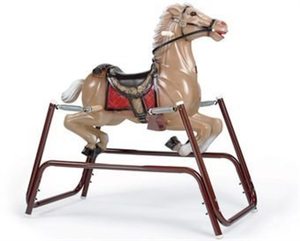
A little internet research later and I find out that she’s a converted hobby horse. She started life as one of those spring-horses that kids bounce on. The hot glued flowers covered the holes where the springs used to be. See the WH on her tushie? That’s “wonder horse”. She started out looking like this. You can find a Wonder Horse on Ebay, or browse your local craigslist. You’ll have to detach the spring posts and handlebars plus drill holes, but of cousre that was all done for me since I thought I was getting a real carousel horse.
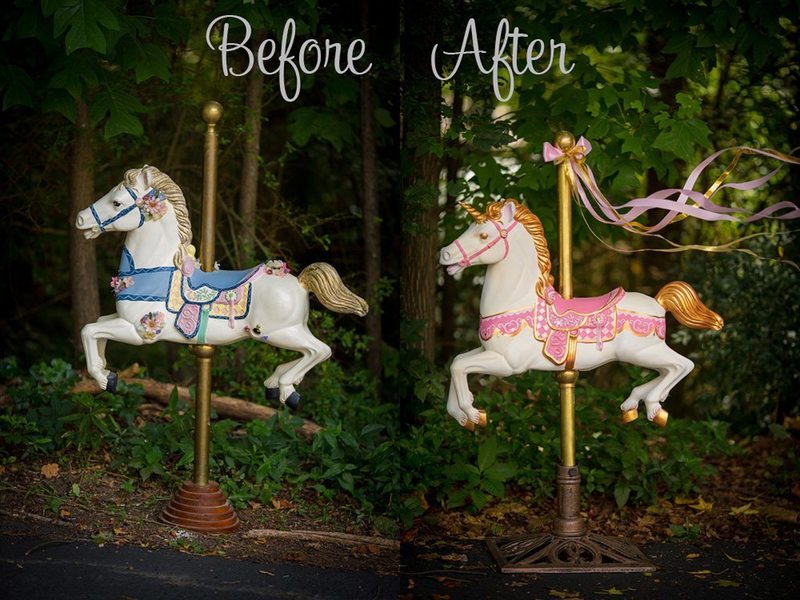
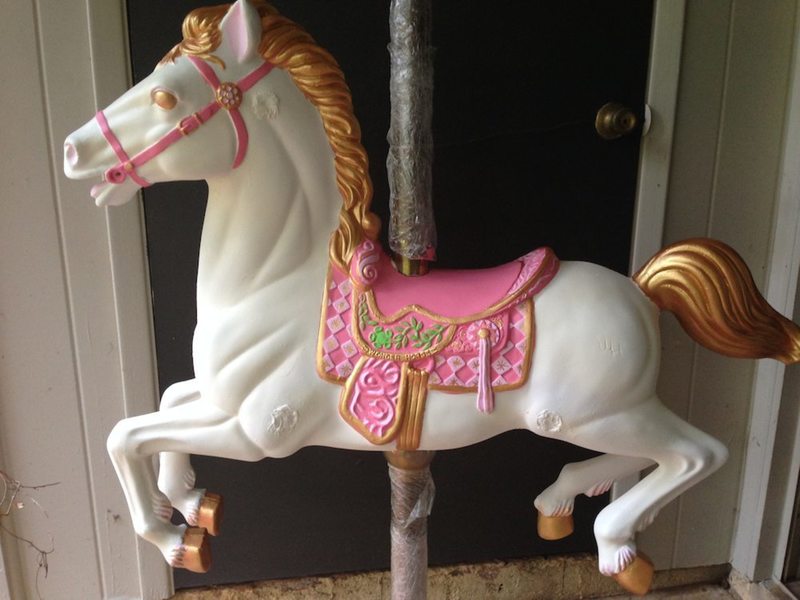
So we got home and I set her up for a photo, because I wanted a before and after set, since I knew I’d have to repaint her.
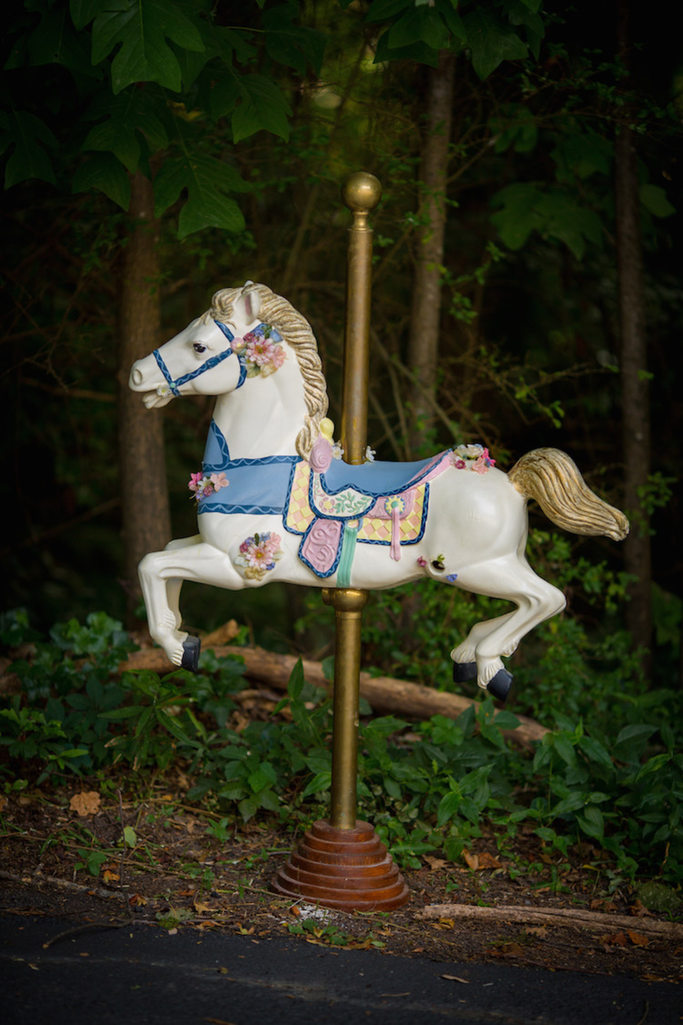
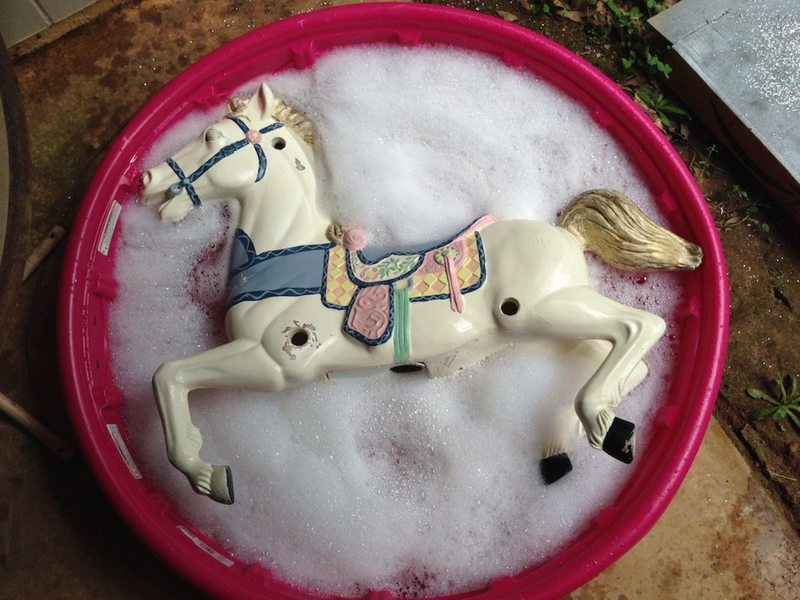
Her first bath (it took three to get the smoke smell out). I scraped all the hot glue off too, thank goodness I was already planning to repaint her since I took off a lot of paint too. She’s just laying in a plastic kiddie pool with a buttload of dawn dish soap.
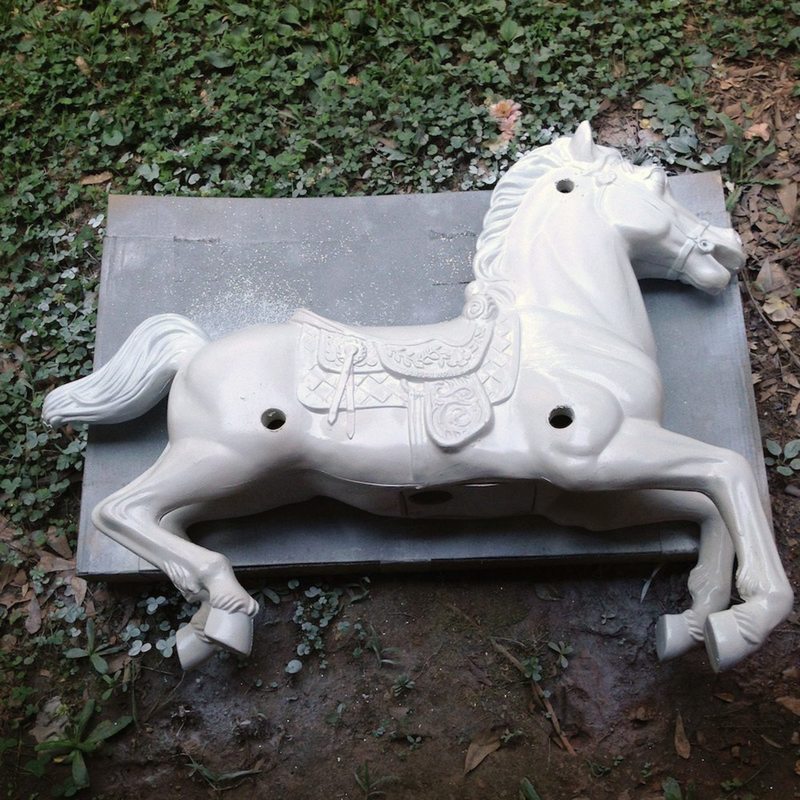
Her base coat of primer white, then a coat of soft ivory over it. I used Rust-Oleum primer and ivory paint.
Testing out pinks, this color was too flamingo-pink, the other was too fuchsia pink, so I ended up mixing them. The mix I used was 50/50 of Amsterdam Venetian Rose and Amsterdam Quinacridone Rose. Pink perfect for a princess carousel horse!
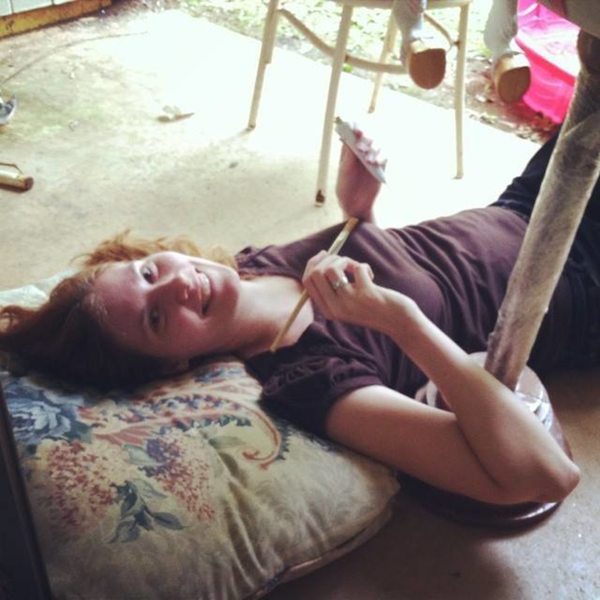
It took a lot of work to paint those hooves gold.. Laying down on the job has it’s perks, I guess. 😛 The gold paint I used was Liquid Metal Gold and the copper accents in the gold was Liquid Metal Aztec Gold. It takes many coats, don’t be discouraged.
All painted, but still missing something.. I think she needs some front and back bits to the saddle and a horn.
A little brain surgery and some hot glue later…
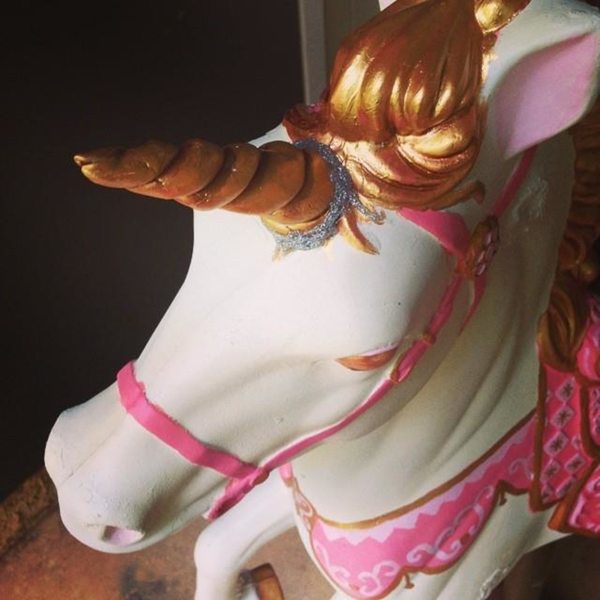
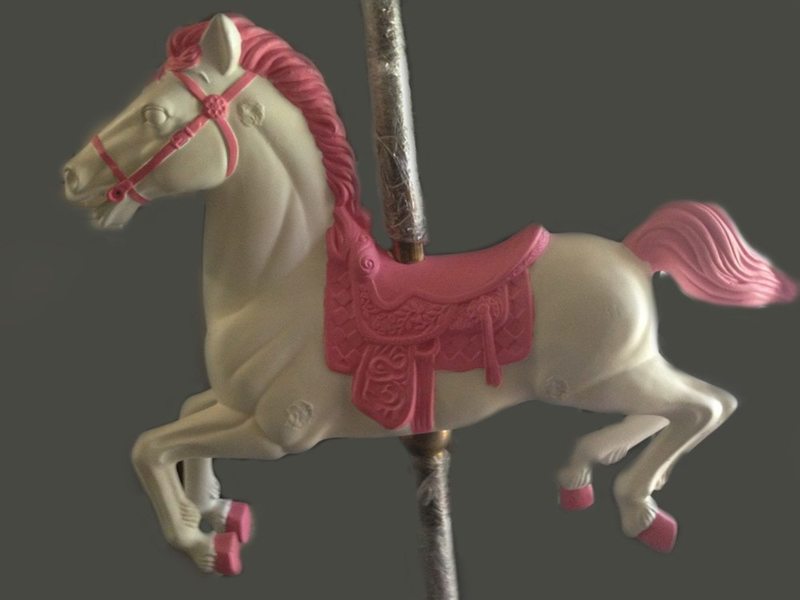
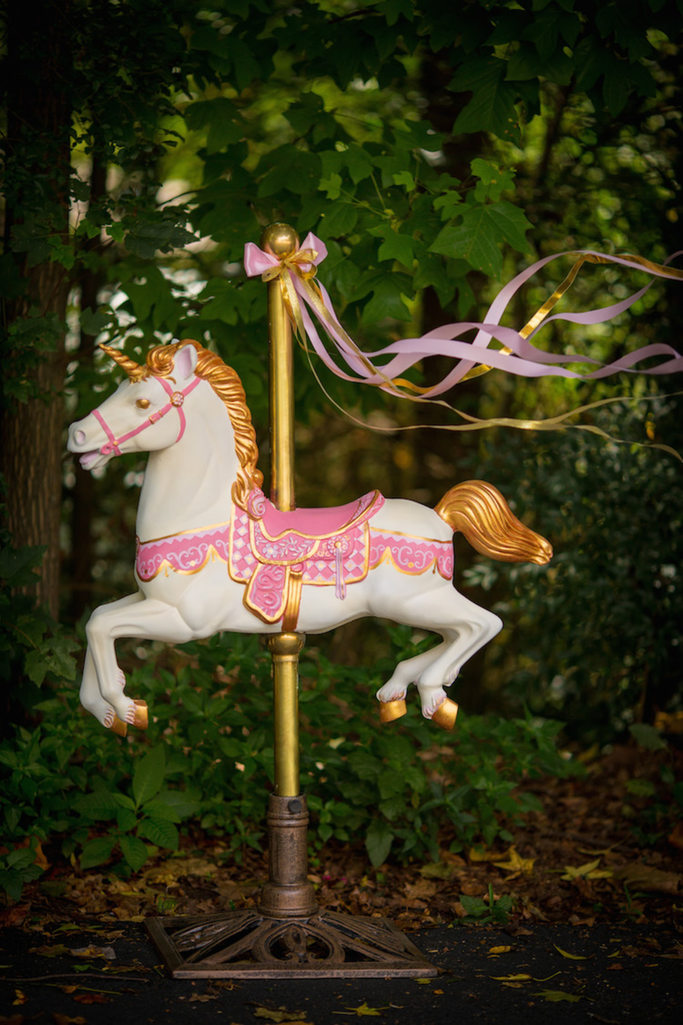
FINALLY, she’s done. Repainted, added a horn, cleaned the brass, added ribbons, filled her with industrial foam, and gave her a new base for stability, she’s ready for some princesses! Final cost: $180 She’s been a great carousel horse!
Part two, a Full Size carousel horse!
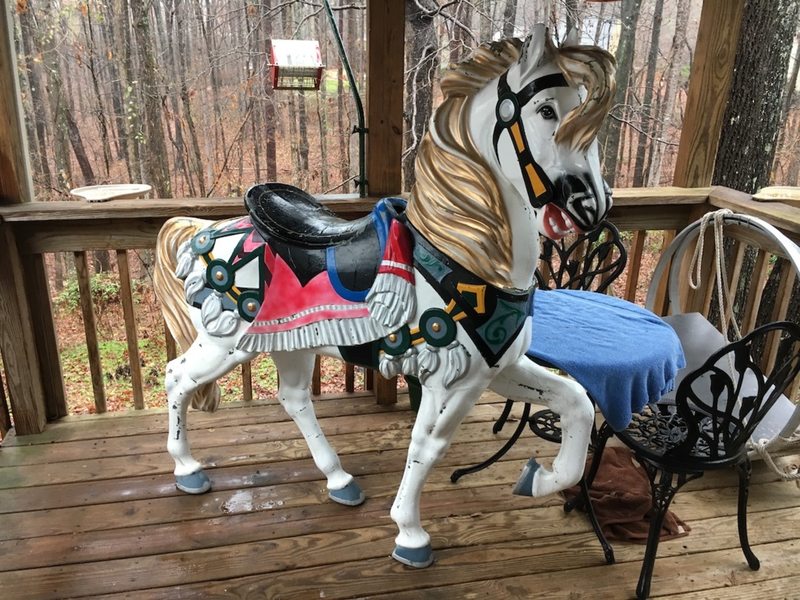
Knowing what a pain it was to do the first one, I should have known it would be worse for a bigger carousel horse.. but I didn’t think it though. 😛 So I found a horse on facebook marketplace that was painted but not on a pole or a stand or anything. I figured how hard could it be to make one? Oh… plenty rough.
So this carousel horse was $500 on facebook, which I figured that was a pretty good deal because the finished ones go for $1500. Then transporting her to my house was an extra $100. You can get one on ebay for about the same.
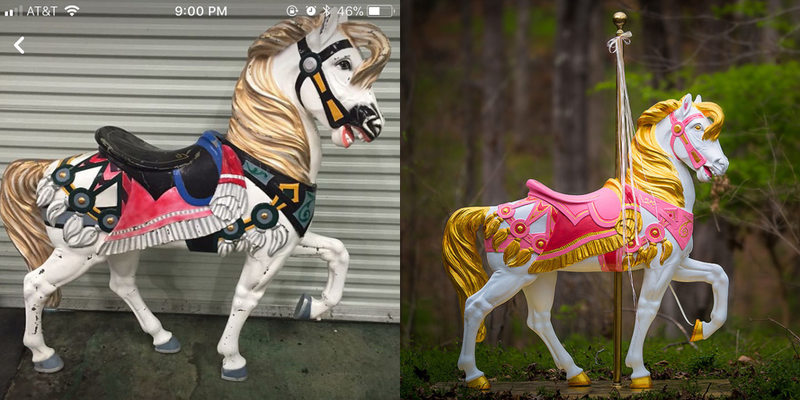
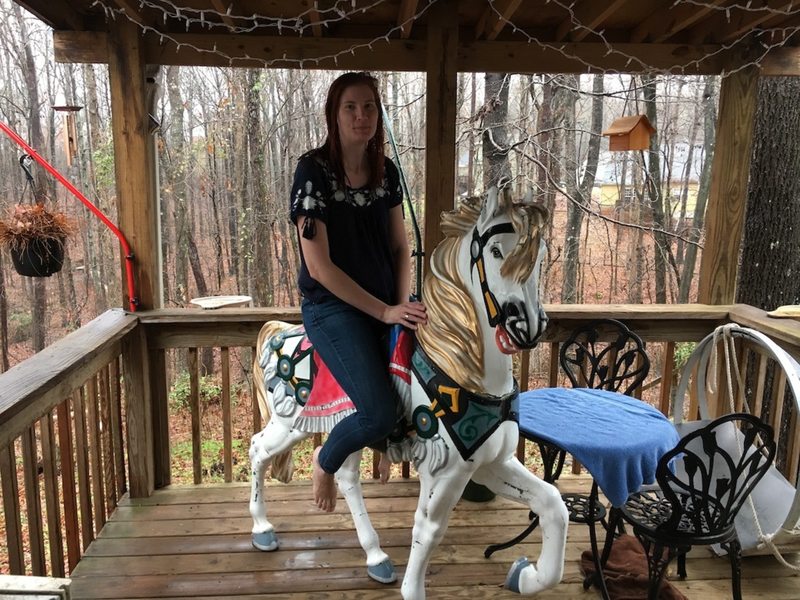
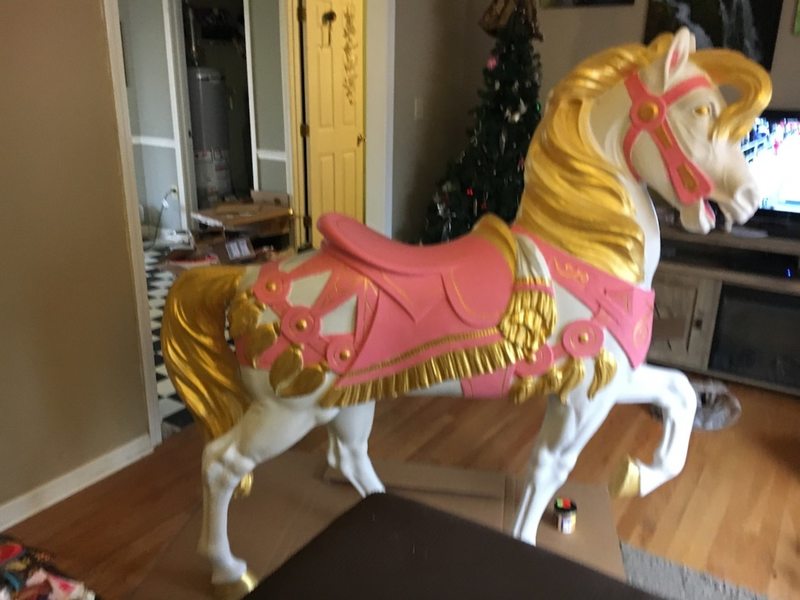
This is what she arrived at my house looking like. I had to try her out! I tell you though, she was VERY wobbly even on a flat surface. No way I could use her for kids without a very sturdy pole and stand. On a side note.. I’m 6ft tall and I make that 5.5ft carousel horse look little. :/
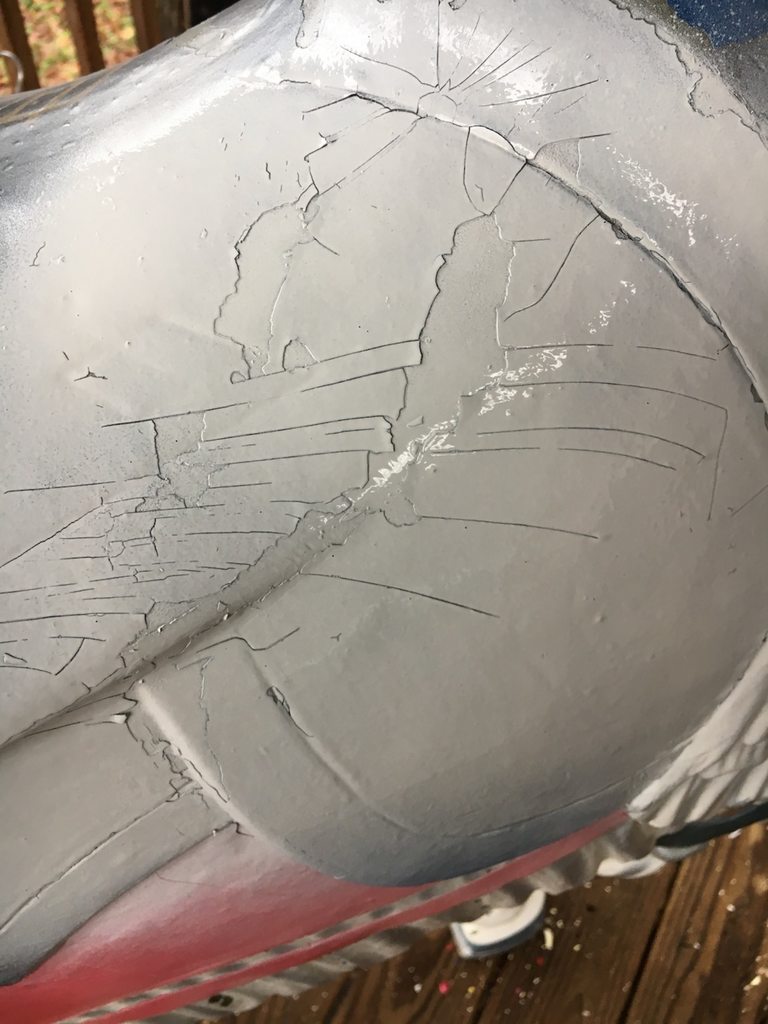
So I knew I was going to repaint her, but the current paint was all chipped. I had to sand her down quite a bit. I tried to prime her before I’d done that enough and the cracks were showing through the primer. At this point, I began to wonder what I’d gotten myself into. My arm almost fell off.
Finally, I got her sanded down enough to prime and paint her. Her base coat of primer white, then a coat of soft ivory over it. I used Rust-Oleum primer and ivory paint. FOUR cans of primer and two cans of ivory later, my thumb was about to die, but she looked good.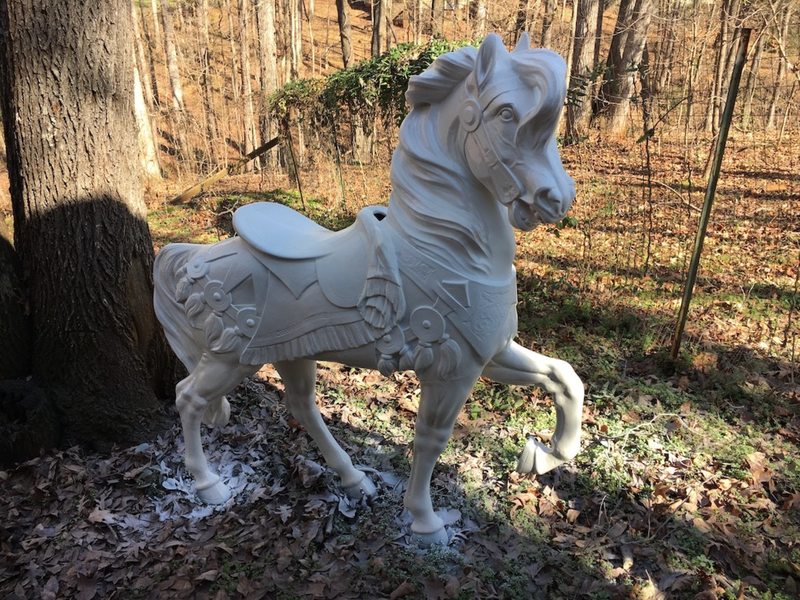
Since I wrote the how-to above, I’ve repainted the little horse a few times, so for this one I wanted to go back to that pink and gold. I remembered I ended up mixing the pinks. The mix I used was 50/50 of Amsterdam Venetian Rose and Amsterdam Quinacridone Rose.

It looked a little plain, but I let that sit while painting the golds.
The gold paint I used was Liquid Metal Gold and the copper accents in the gold was Liquid Metal Aztec Gold. It takes many coats, don’t be discouraged. I had fun painting in my house watching the Olympics!
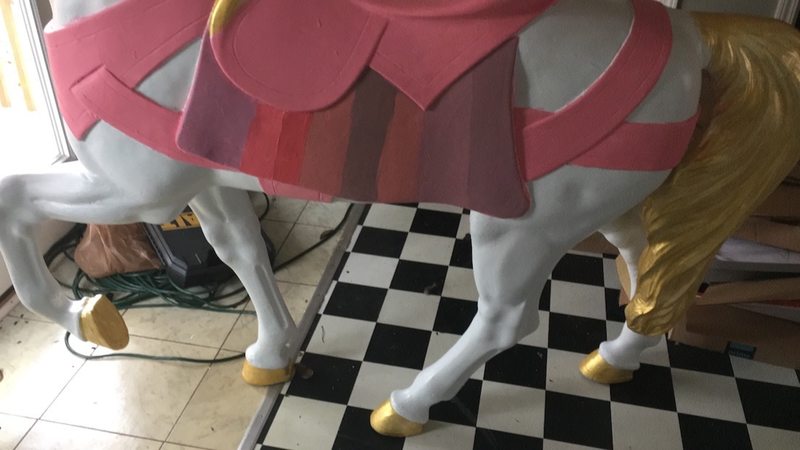
The problems came when I needed a darker pink for other bits of the saddle. Mixing with black only resulted in some truly hideous purples. I ended up with a 50/50 mix again of Carmine and Yellow Ochre with a little bit of white to lighten it up.
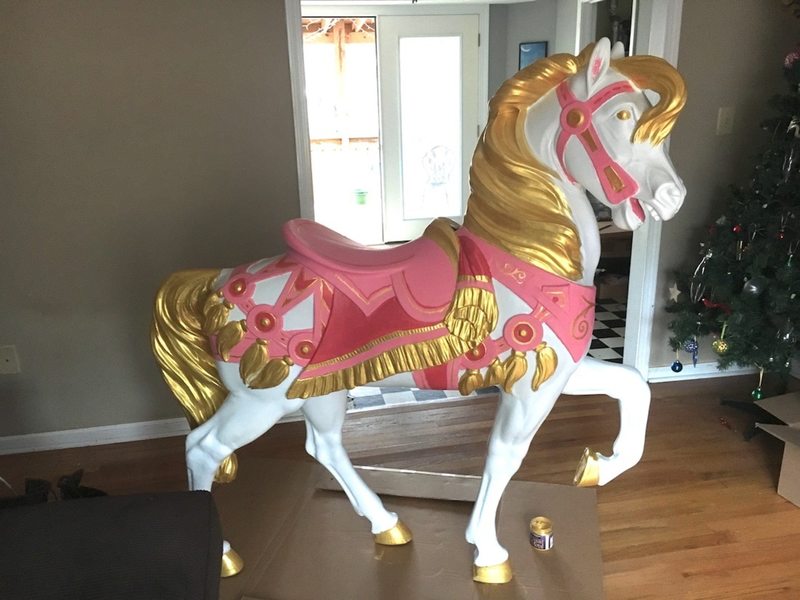
That darker pink looked pretty nice, and the gold was nearing done… Every time I thought I was through I found new patches showing white though.
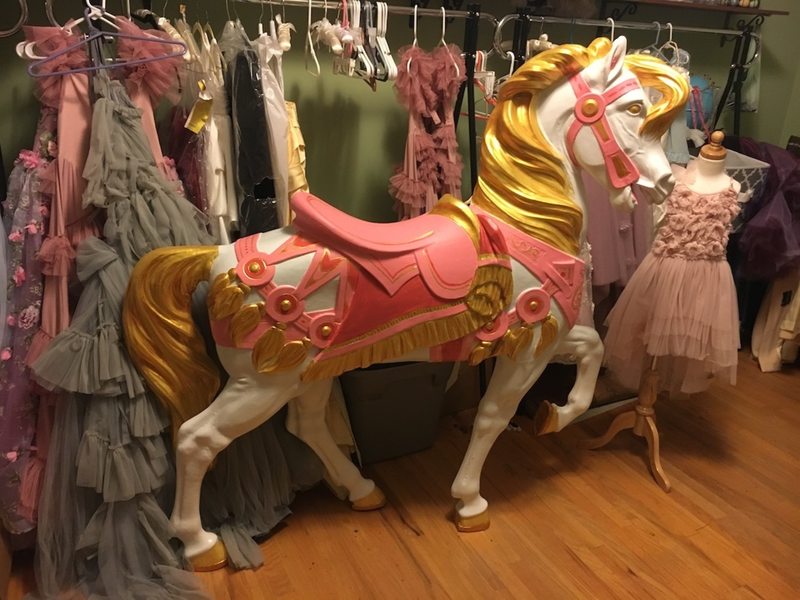
Finally I was done with the PAINT, but she was still too wobbly to use, so I put her in my princess room while working on the stand. Total cost so far with paint: $675 Now to build a carousel horse stand..
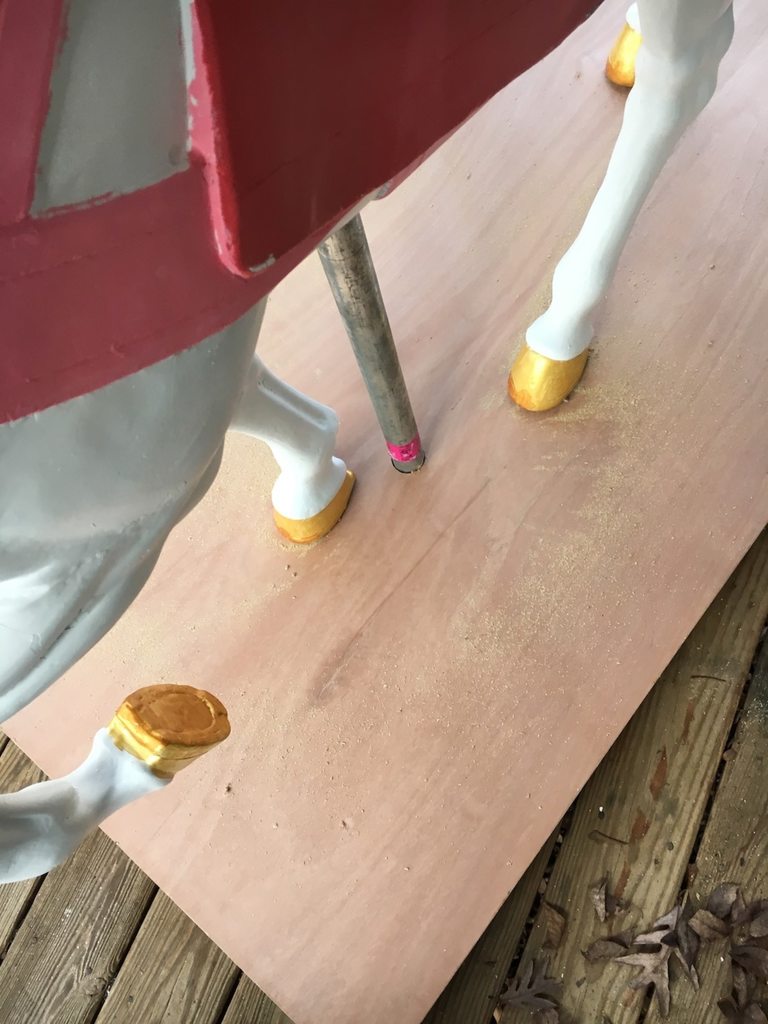
After much looking and testing weight, I decided that a solid wood door from Lowes would be perfect. It weighed about 60lbs, so it should be great. We got it home and my husband drilled a hole in it for the pole and cut off about 18 inches of the door because it was so long and heavy.
The pole I chose is a 6ft pole from Lowes with threads at the end in a 1.5in diameter. The horse holes were a 2in diameter, but the 1.5 pole was as wide as we could find. You can order the poles and stands online, but it was $300 I didn’t want to spend.
Once I put the pole in the hole, I discovered that it was still wobbly, so we had to install a threaded lip to screw the pole to, which we bolted to the door. This actually totally negated the need for a hole in the door.
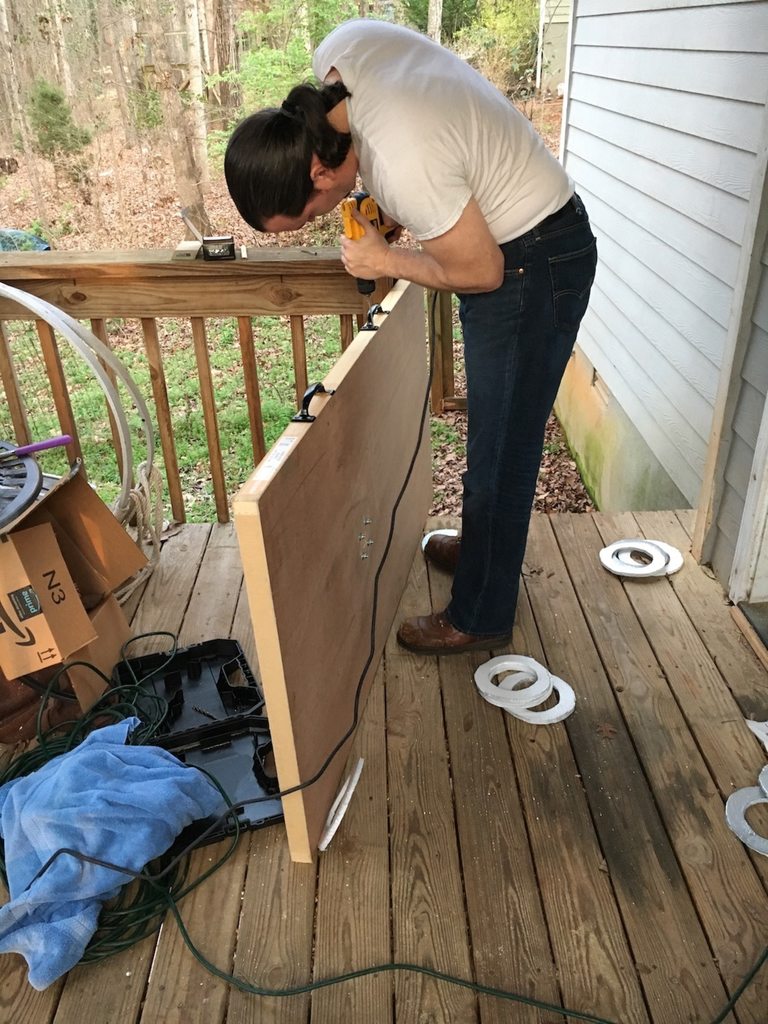
He also installed handles on the back so I can carry it. Door and pole and handles ran about $175, so now total cost is up to $850
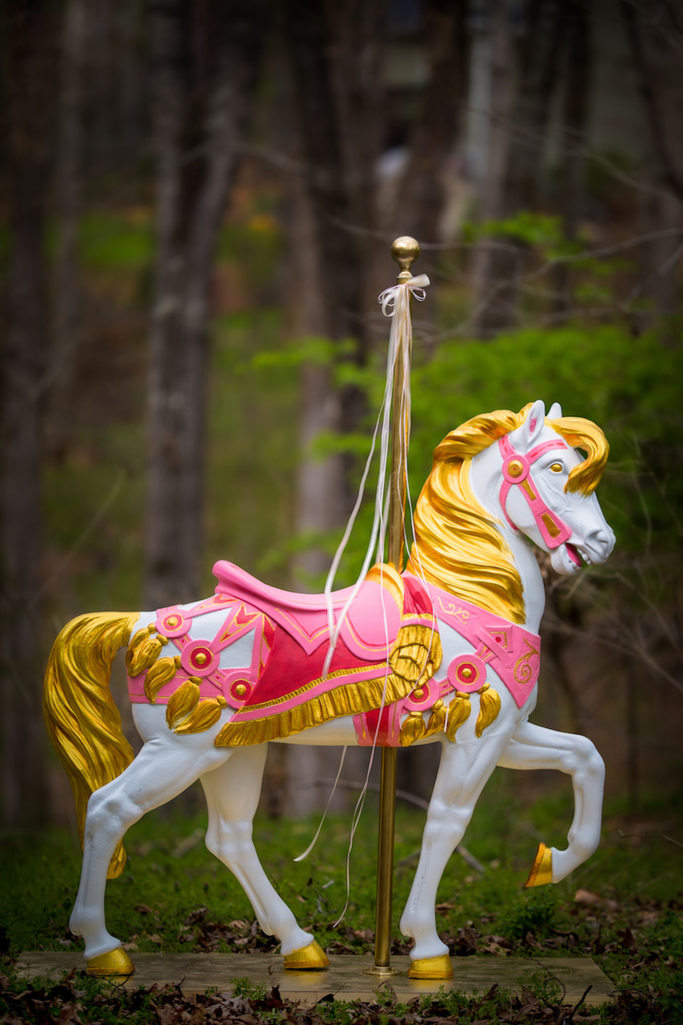
Then I painted the entire stand and pole gold, and used ribbon to hide the threads at the top of the pole.
All finished! Final total cost: $925
I think knowing what I know now, I’d have just ordered one of the finished ones off ebay, hahahahahahaah!


leave a comment